

our 5 sep guide to help you gain accurate weights

1. Site Preparation
Choose a Flat, Level Surface: Concrete or asphalt is ideal. Avoid gravel or sloped ground to prevent inaccurate readings.
Clear the Area: Remove debris, stones, or anything that might affect pad positioning or vehicle leveling.
2. Unpack and Inspect the Equipment
Check each pad for visible damage or wear.
Confirm that all antennas are connected.
Ensure the batteries are fully charged or that the system is connected to a reliable power source.
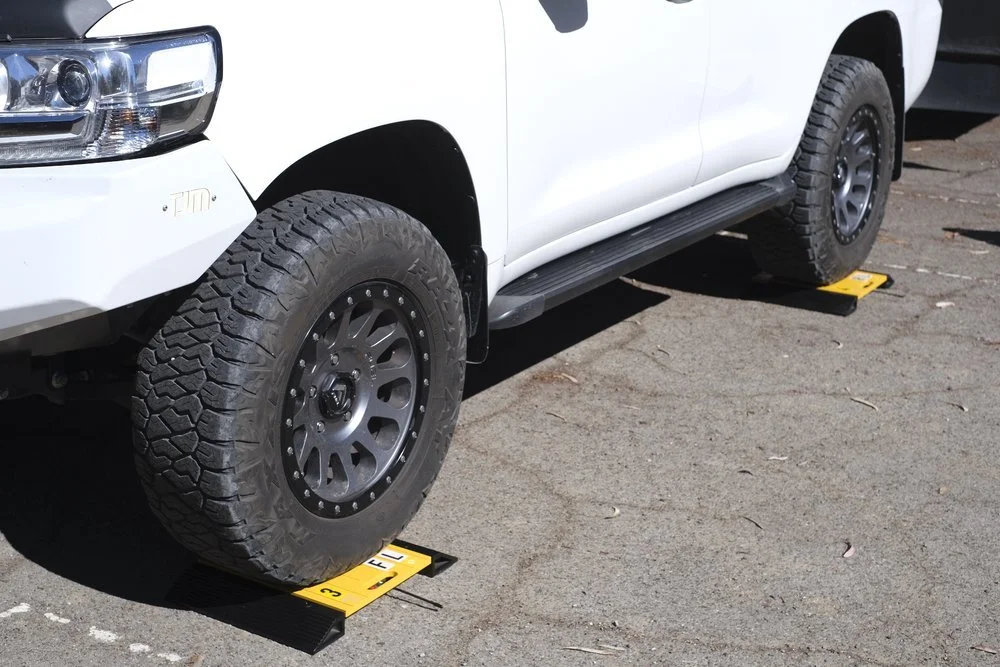
3. Position the Pads
Place Pads in Line with Axles: Each axle set of the vehicle should rest fully on a pair of pads.
Use Alignment Guides or Markings if provided to ensure even placement.
If you're weighing multiple axles simultaneously, space the pads accordingly.
For single pad use (rolling weight capture), make sure you have a good start and end area for the vehicle to roll over smoothly.
4. Weighing Procedure
Drive the Vehicle Onto the Pads:
Drive slowly and straight to ensure the wheels land squarely on the pads.
Make sure all tires of each axle are fully on the pads.
Allow Vehicle to Settle: Pause for a few seconds to let suspension settle and weight distribute evenly.
Read/Record the Weight:
Read individual axle weights and total combined weight.
Record values manually or print off the weights using the print option.
5. Post-Weighing Tasks
Remove Vehicle: Carefully drive off, avoiding sudden turns or shifts that could move the pads.
Turn Off and Store:
Turn off the display and disconnect pads.
Clean the pads if needed and store them in their cases to avoid damage.
Recharge if Necessary.